
How I Gave an Old HP Laptop a Second Life (and Saved It from the Bin)
In this post
- The laptop in question
- Wiping Windows and installing Ubuntu
- The boot problem nobody warns you about
- What actually changed
- Teaching someone who has never really used a computer
- Remote access from anywhere in the world
- Worth doing
The laptop in question
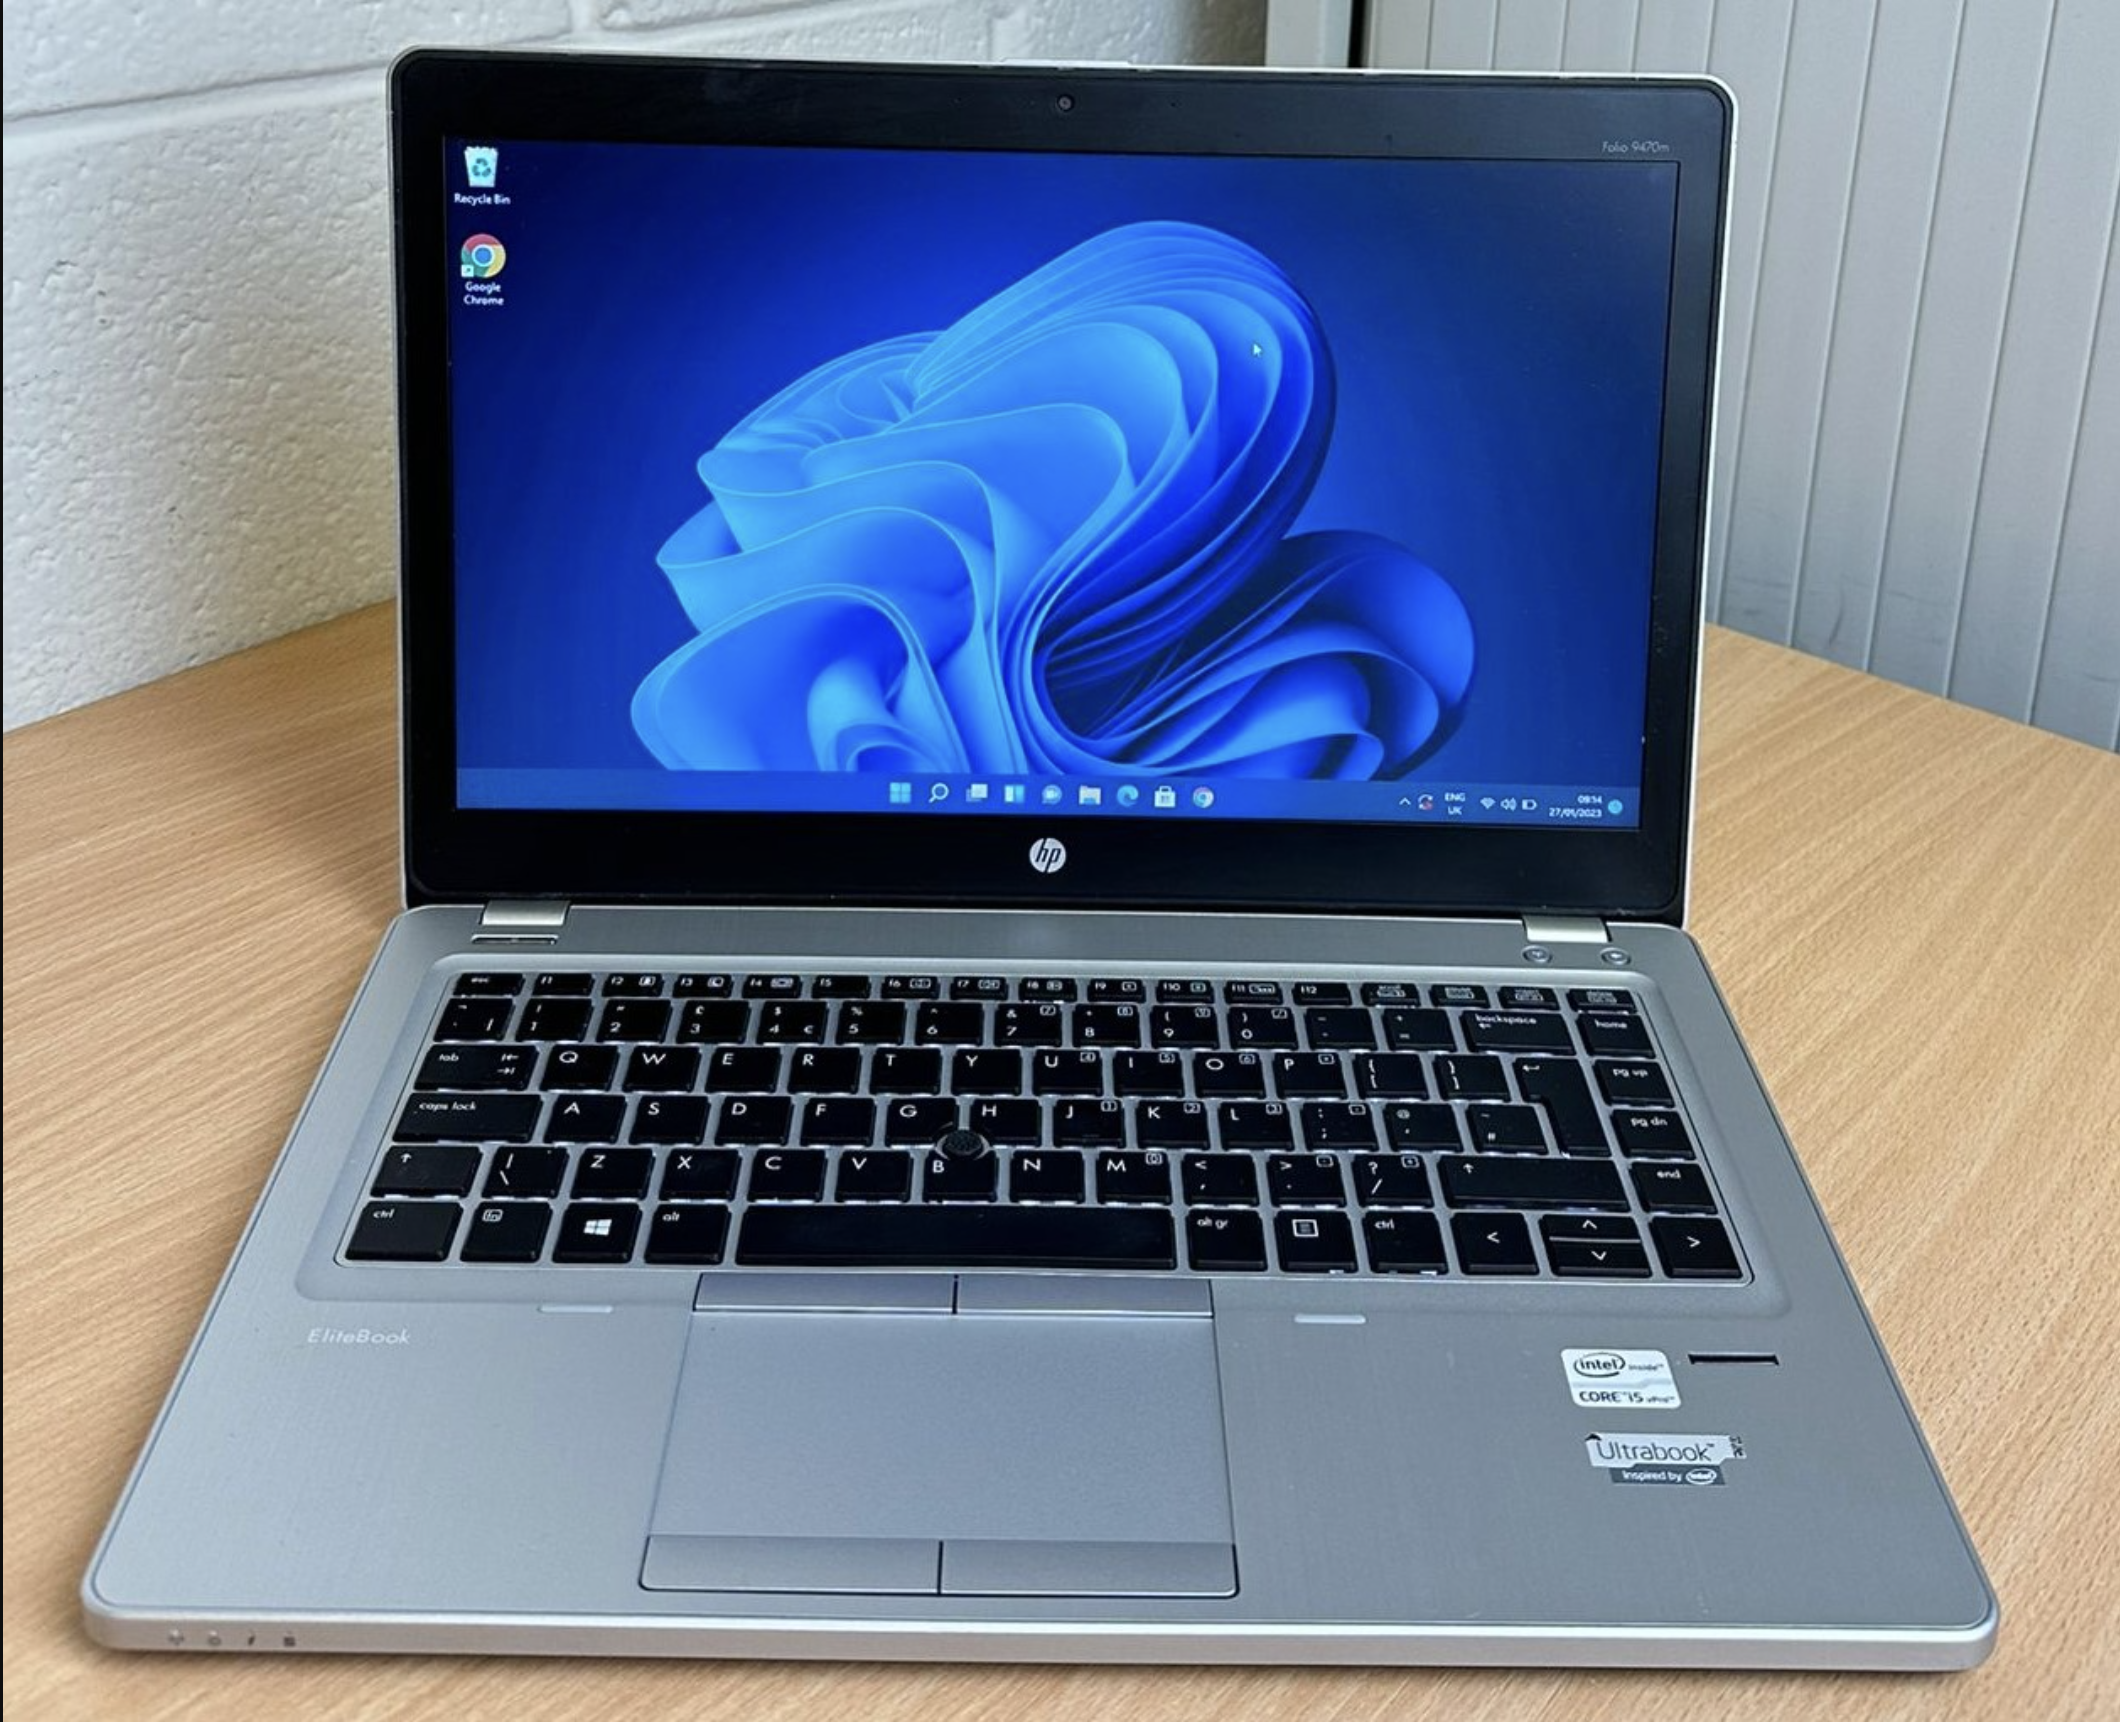
The HP EliteBook Folio 9470m is a machine that, on paper, should not still be useful in 2024. It is about fifteen years old, has a 500 GB hard disk drive, and comes with 4 GB of RAM. When I last used it regularly, the battery barely lasted thirty minutes. It was the kind of laptop you keep in a drawer because throwing it away feels wasteful, but using it feels pointless.
I had an older relative who needed something simple to get online, write documents, and start finding their way around a computer. Buying a new machine felt unnecessary. The HP was sitting there doing nothing. So I decided to see whether I could make it actually usable rather than send it to landfill.
The short answer is yes, it worked, and it now runs better than it has in years. Here is what I did.
Wiping Windows and installing Ubuntu
The first step was getting rid of Windows entirely. An ageing machine trying to run a modern Windows operating system is part of why these laptops feel so sluggish. Windows has grown heavier with each release, and older hardware simply cannot keep up.
Ubuntu is a Linux-based operating system that is free, actively maintained, and considerably lighter than Windows. It does everything a casual user needs: browse the internet, write documents, send emails, watch videos. For someone who is not gaming or running specialist software, it covers all the bases.
The process itself is not complicated. You download the Ubuntu installation file onto a USB drive, creating what is called a “bootable drive.” This turns the USB into something the laptop can start up from, the same way it normally starts up from its internal hard drive. I used Balena Etcher on my MacBook to do this, which is free and takes about three clicks to get right, loaded Ubuntu onto the USB, and then connected it to the HP.
From there, booting into Ubuntu from the USB worked fine. I could see it running, everything loaded correctly, and I went ahead with the full installation onto the machine’s hard drive.
The boot problem nobody warns you about
Here is where things got interesting. After completing the installation and removing the USB, I restarted the laptop expecting it to load Ubuntu. Instead, I got this:
Boot Device Not Found
Please install an operating system on your hard disk.
Hard Disk - (3F0)
Ubuntu was installed. It was sitting there on the hard drive. The laptop simply refused to find it.
This is a known issue with certain HP machines from this era. The BIOS, which is the firmware that runs before the operating system loads and tells the computer where to look for its startup files, has a specific expectation about where the boot file should be located. Ubuntu places its boot file in a location that satisfies most computers but not this particular HP. The laptop was looking in one place and finding nothing, even though everything it needed was sitting a few directories away.
The fix involves going into the BIOS settings and manually pointing the laptop at the correct file path for Ubuntu’s boot loader. In practice, you navigate to the boot override menu in the custom BIOS setup and type in the path \EFI\ubuntu\grubx64.efi. It sounds technical, but it is literally a few menu steps and one line to type, not any actual coding. I found the solution on a Linux Mint forum thread from someone who had hit the exact same wall, and there is also a YouTube video that walks through it visually if you prefer that.
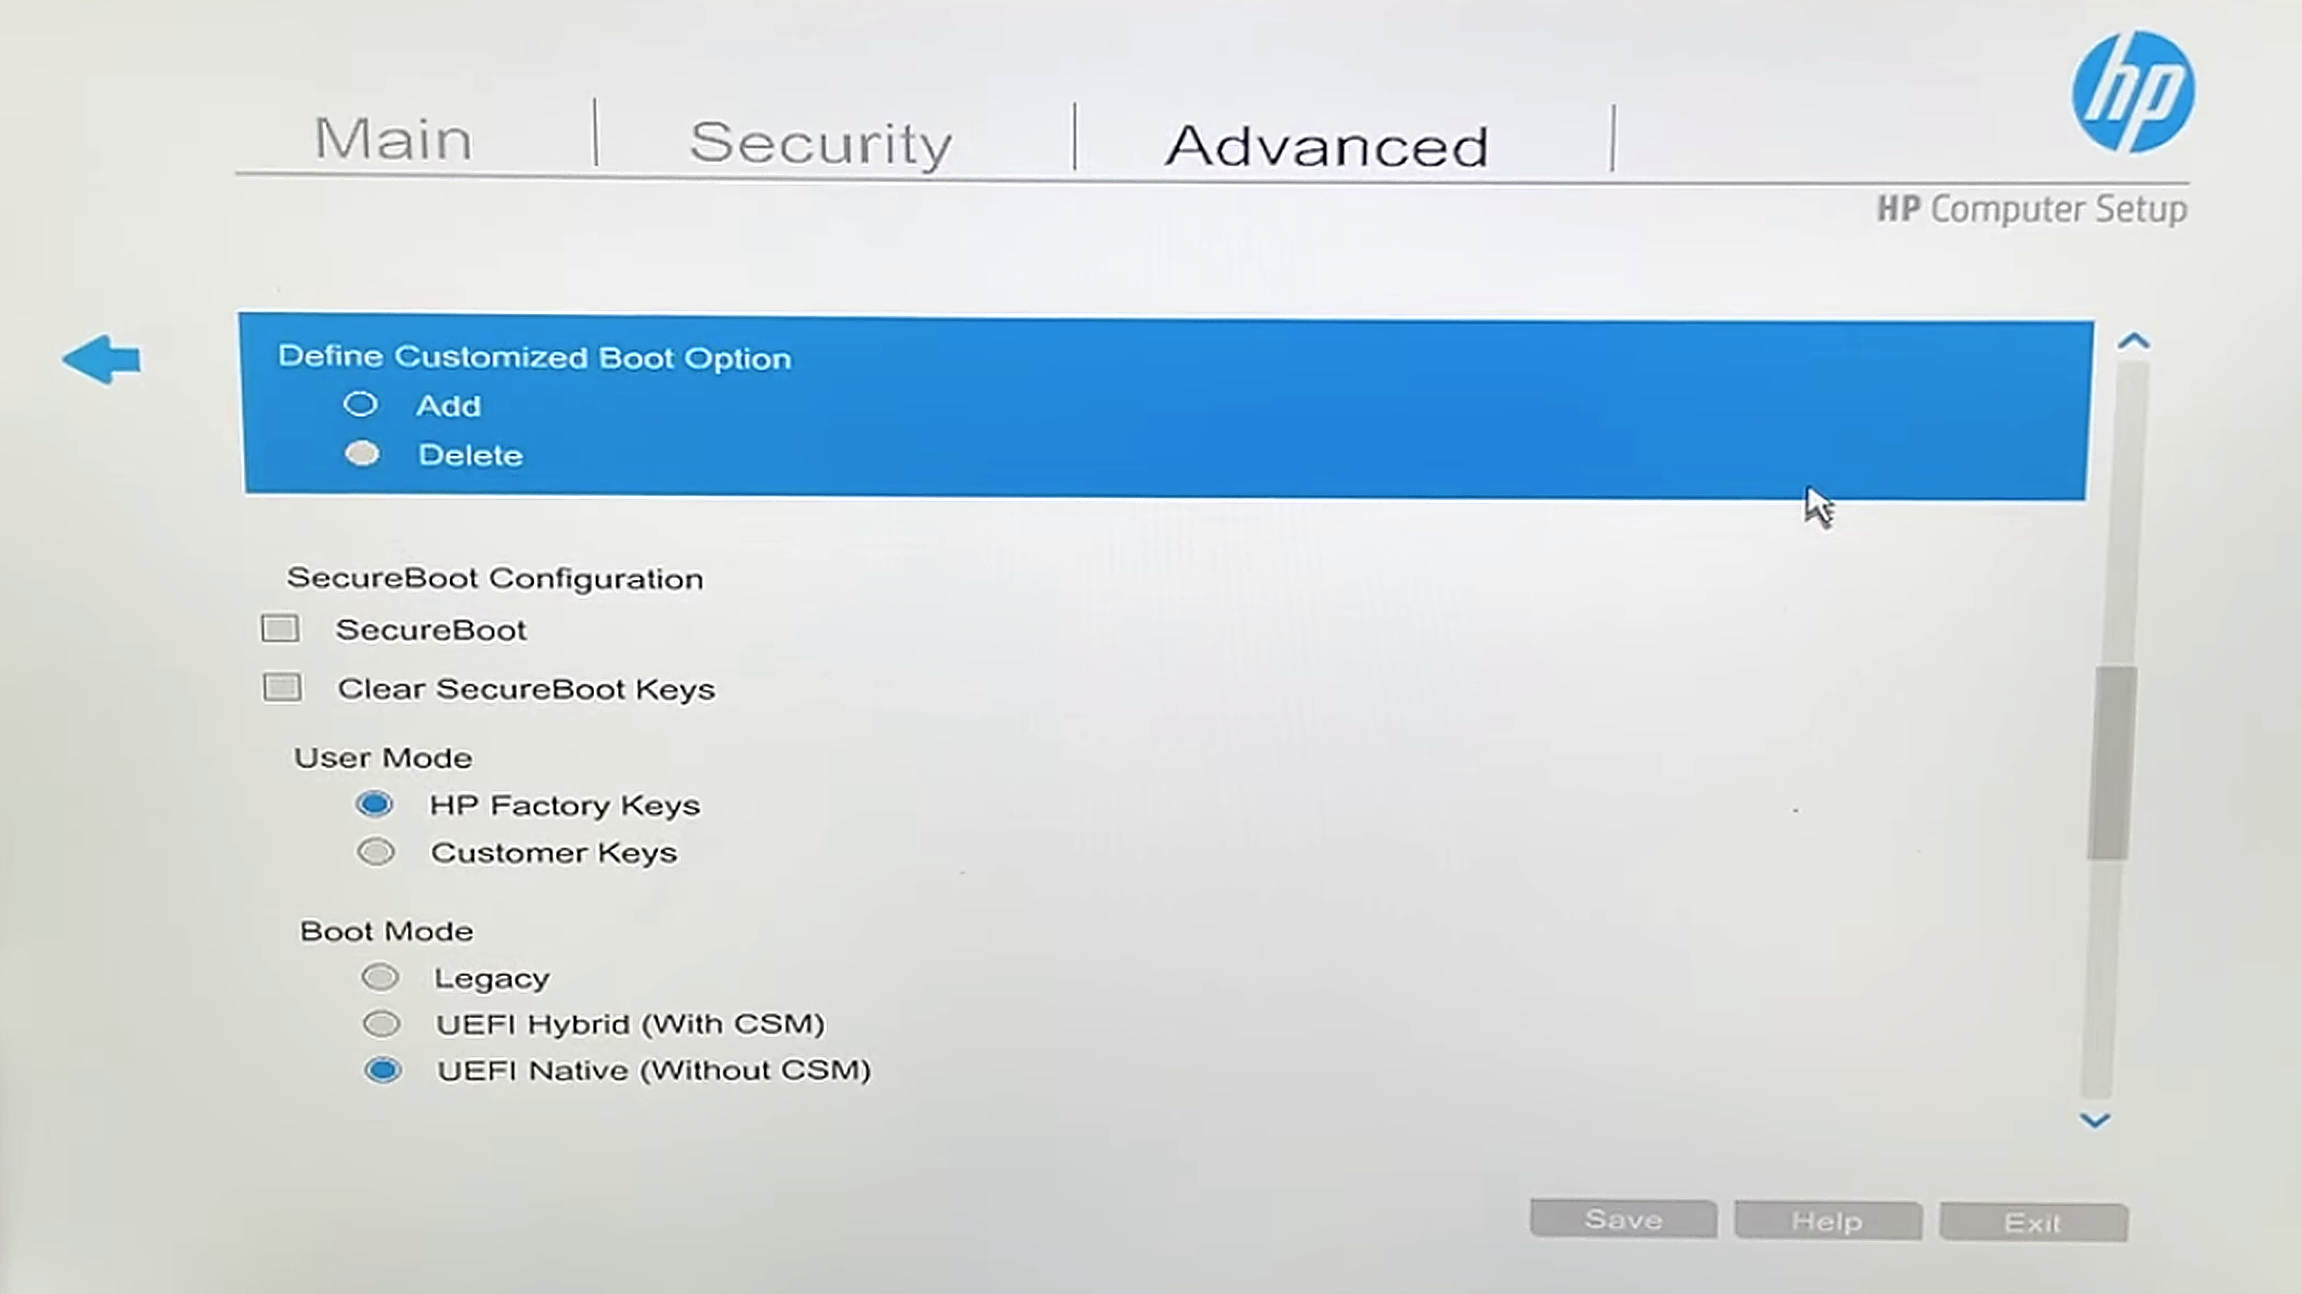
Once I applied the fix, the laptop booted cleanly into Ubuntu every time. Problem solved.
What actually changed
The difference after switching to Ubuntu was more noticeable than I expected. The laptop boots noticeably faster. It does not sit there churning through background processes before you can do anything. And the battery, which had been struggling to last thirty minutes under Windows, improved to around seventy-five minutes on Ubuntu. My best guess is that Windows had background processes quietly draining it, the kind of thing that accumulates on an old machine over years of updates and installed software. Ubuntu starts clean with nothing running that does not need to be.
For a fifteen-year-old machine, that is a reasonable working session. Not what you would get from a modern laptop, but enough to be genuinely useful.
Teaching someone who has never really used a computer
Getting the machine running was the straightforward part. The harder challenge was making it actually usable for someone who does not have years of intuitive familiarity with computers.
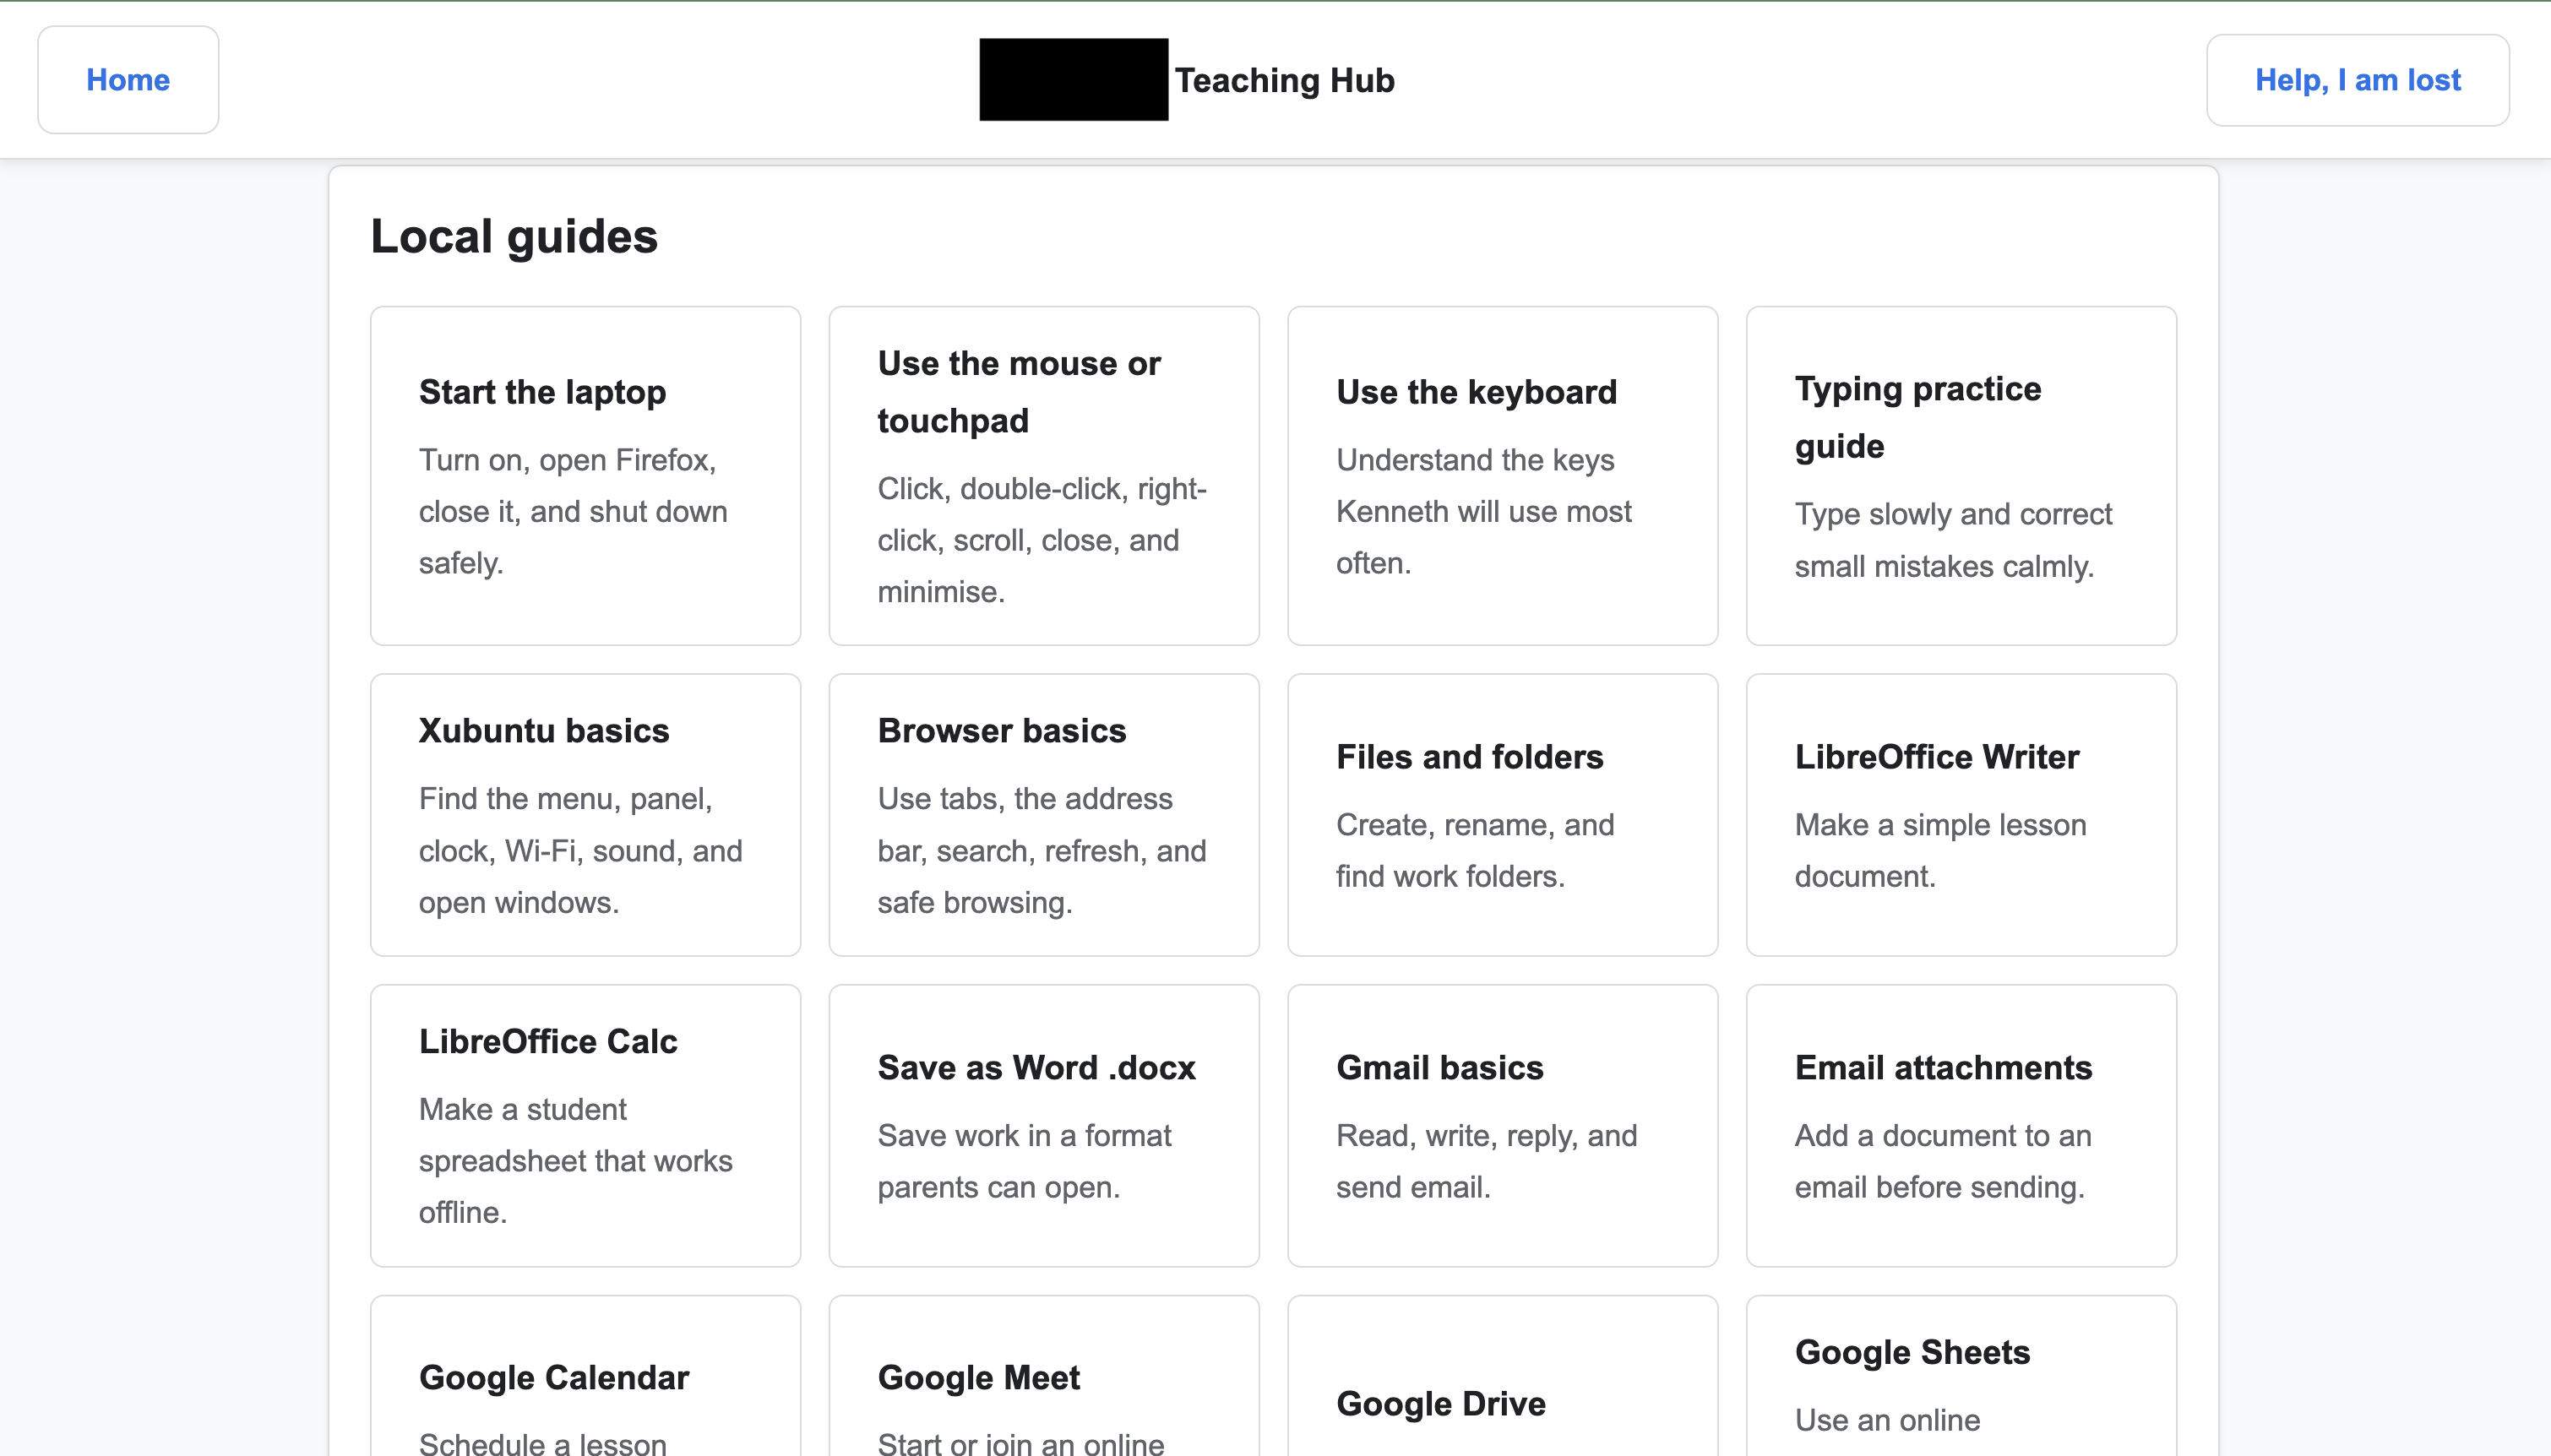
I built a tutorial that ran locally on the device, without needing an internet connection, and set it as the default home page in Firefox so it opened automatically whenever the browser launched. It ran through the basics over a fourteen-day programme. Day 1 was simply turning the laptop on and off and getting familiar with the keyboard. By Day 14, they were asking Claude questions independently and sending emails without any help. In between, the programme covered navigating files, using LibreOffice Writer to create documents, and searching the web.
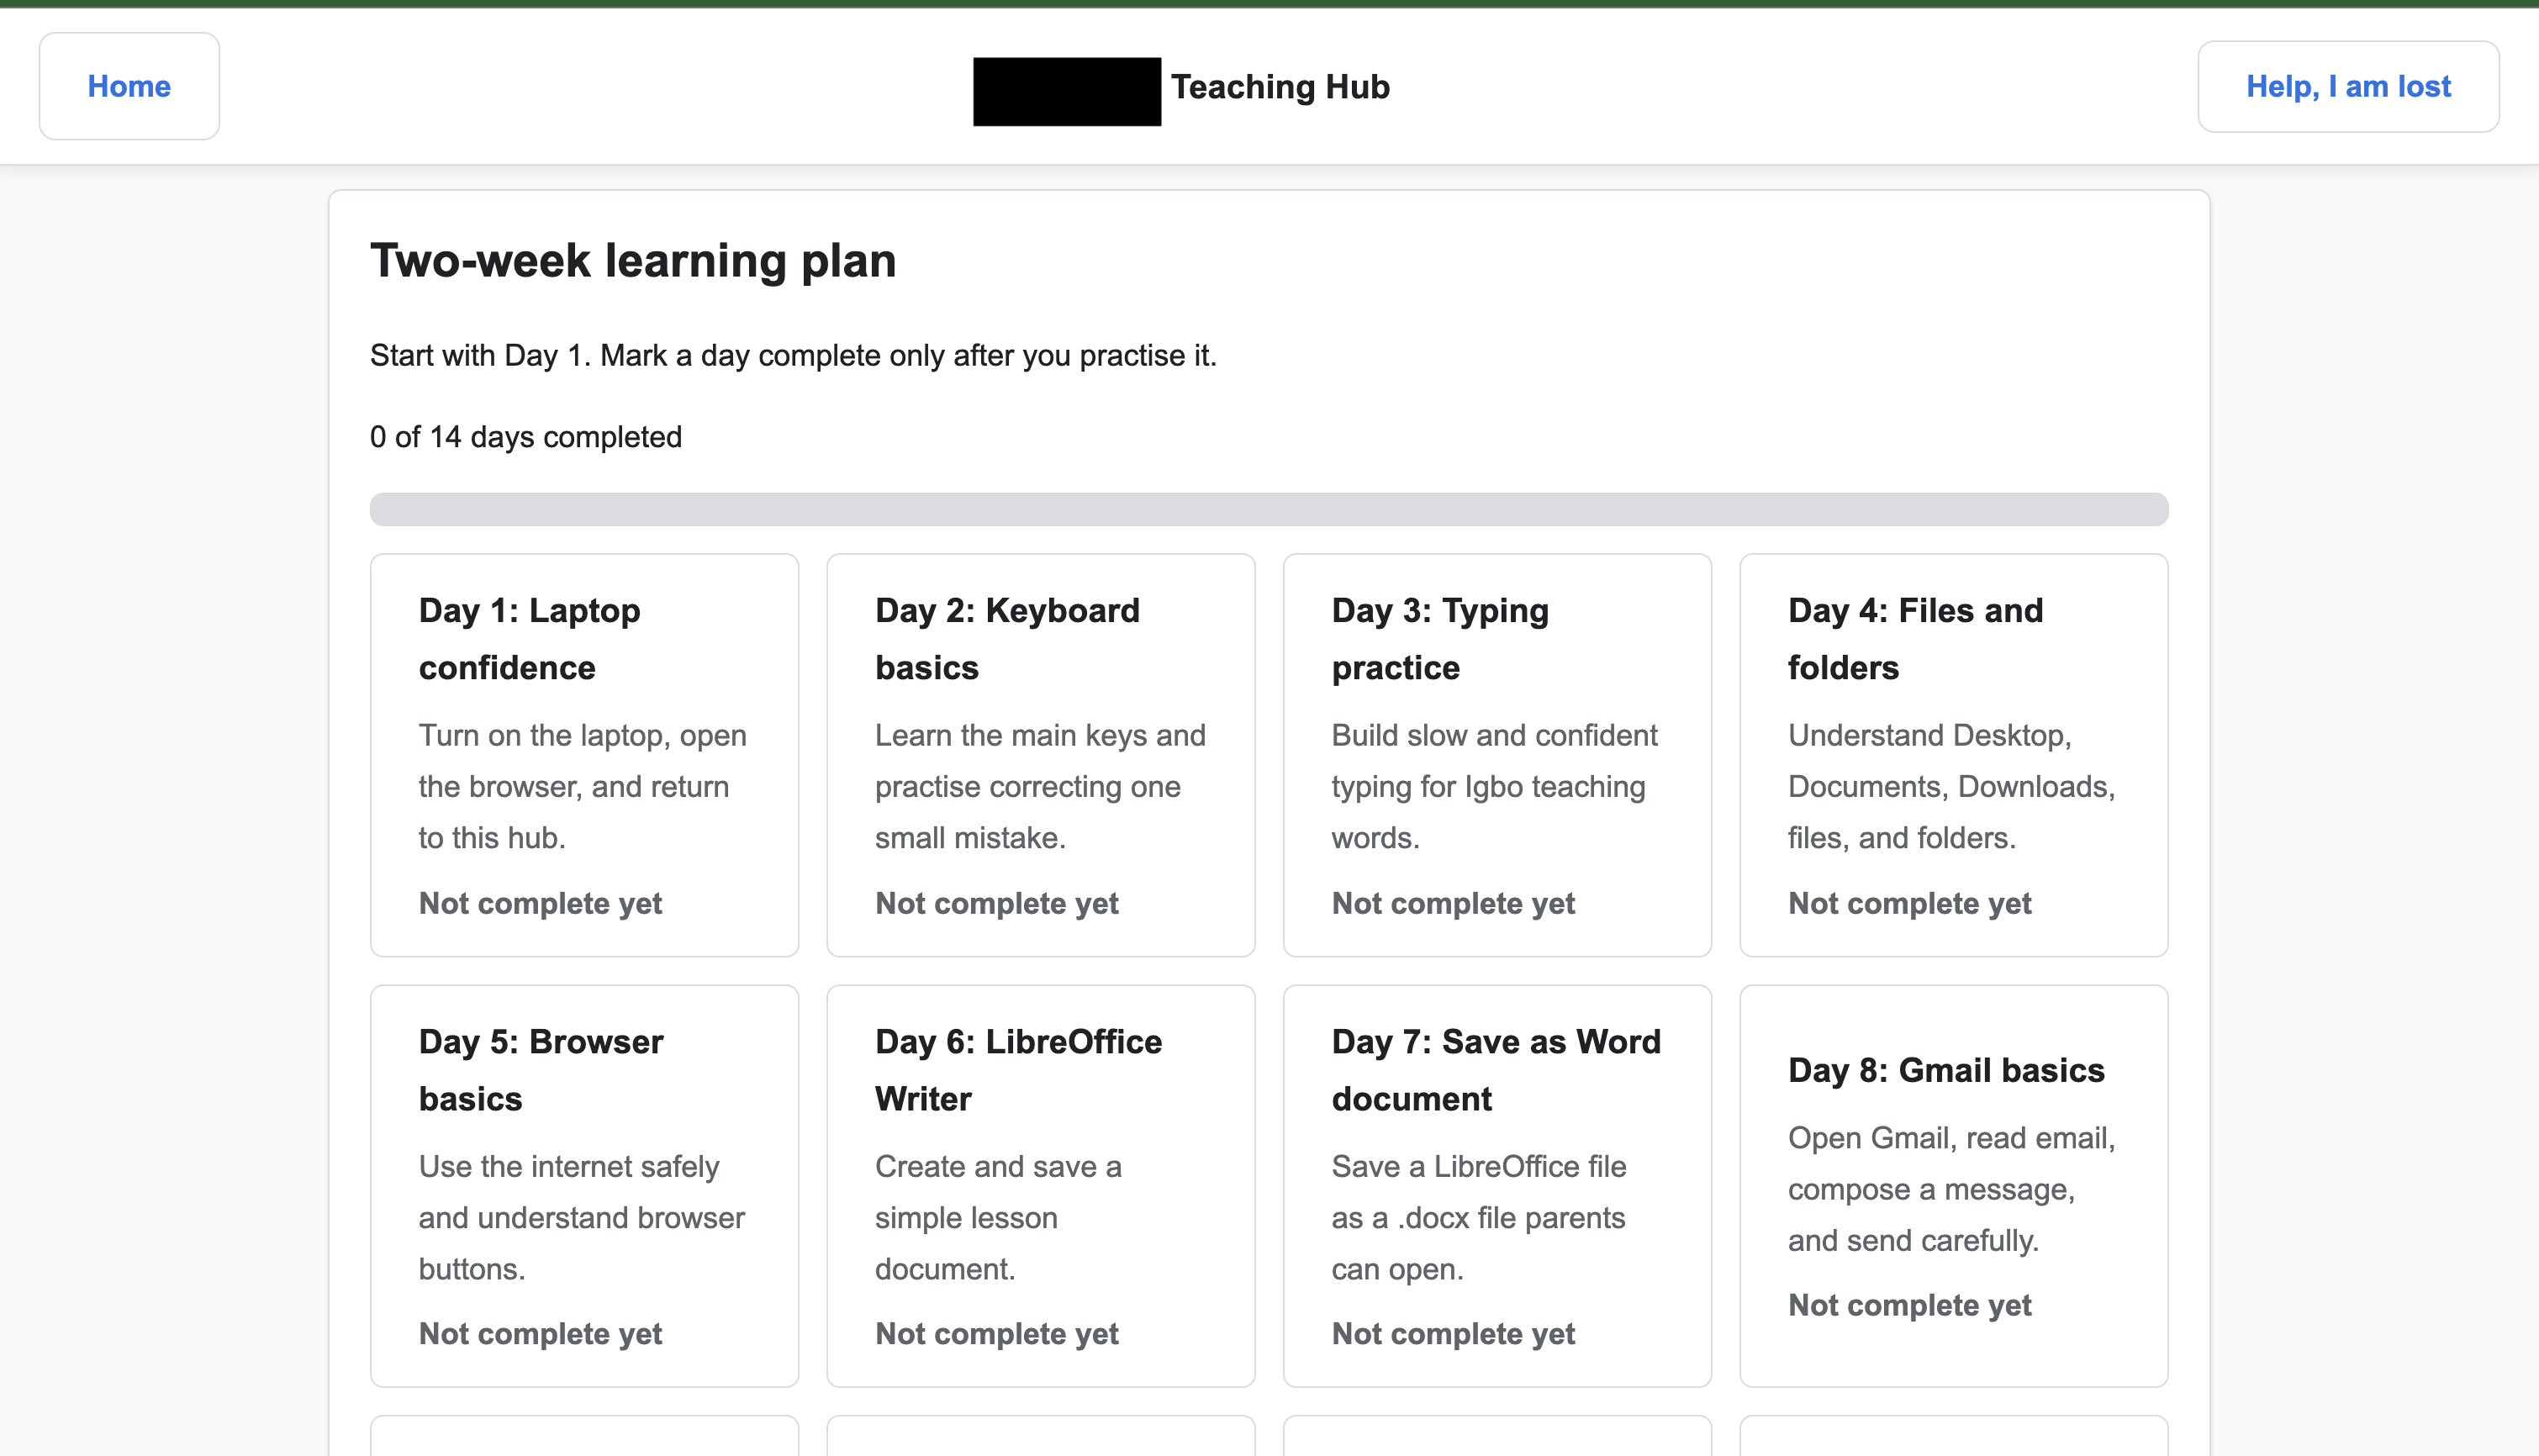
The programme included practice areas where they could try things for themselves: typing exercises, creating and saving files, drafting emails. The idea was that learning by doing, in small structured doses, would stick better than reading instructions.
One thing I noticed was that they struggled to get useful responses from Claude because they were not sure how to frame a question well. Rather than just leaving them to figure that out, I adjusted their Claude account’s custom instructions so that when they ask something, Claude will ask a few follow-up questions first before giving an answer. This nudges a bit of back-and-forth that helps the response actually fit what they needed, rather than something too broad or too detailed. I also set an instruction for Claude to keep replies simple and avoid assuming prior knowledge.
It is a small thing, but it made a meaningful difference in how useful the tool actually was for someone at that stage.
Remote access from anywhere in the world
The last piece was making sure I could help if something went wrong, without needing to be in the same room.
I installed Tailscale on both the HP and my MacBook. Tailscale creates a private, encrypted network between your devices over the internet, so they can communicate directly as if they were on the same local network, regardless of where either of them physically is. With that in place, I can SSH into the HP from my MacBook, which means I can access its command line remotely and fix most software issues without anyone needing to do anything on their end.
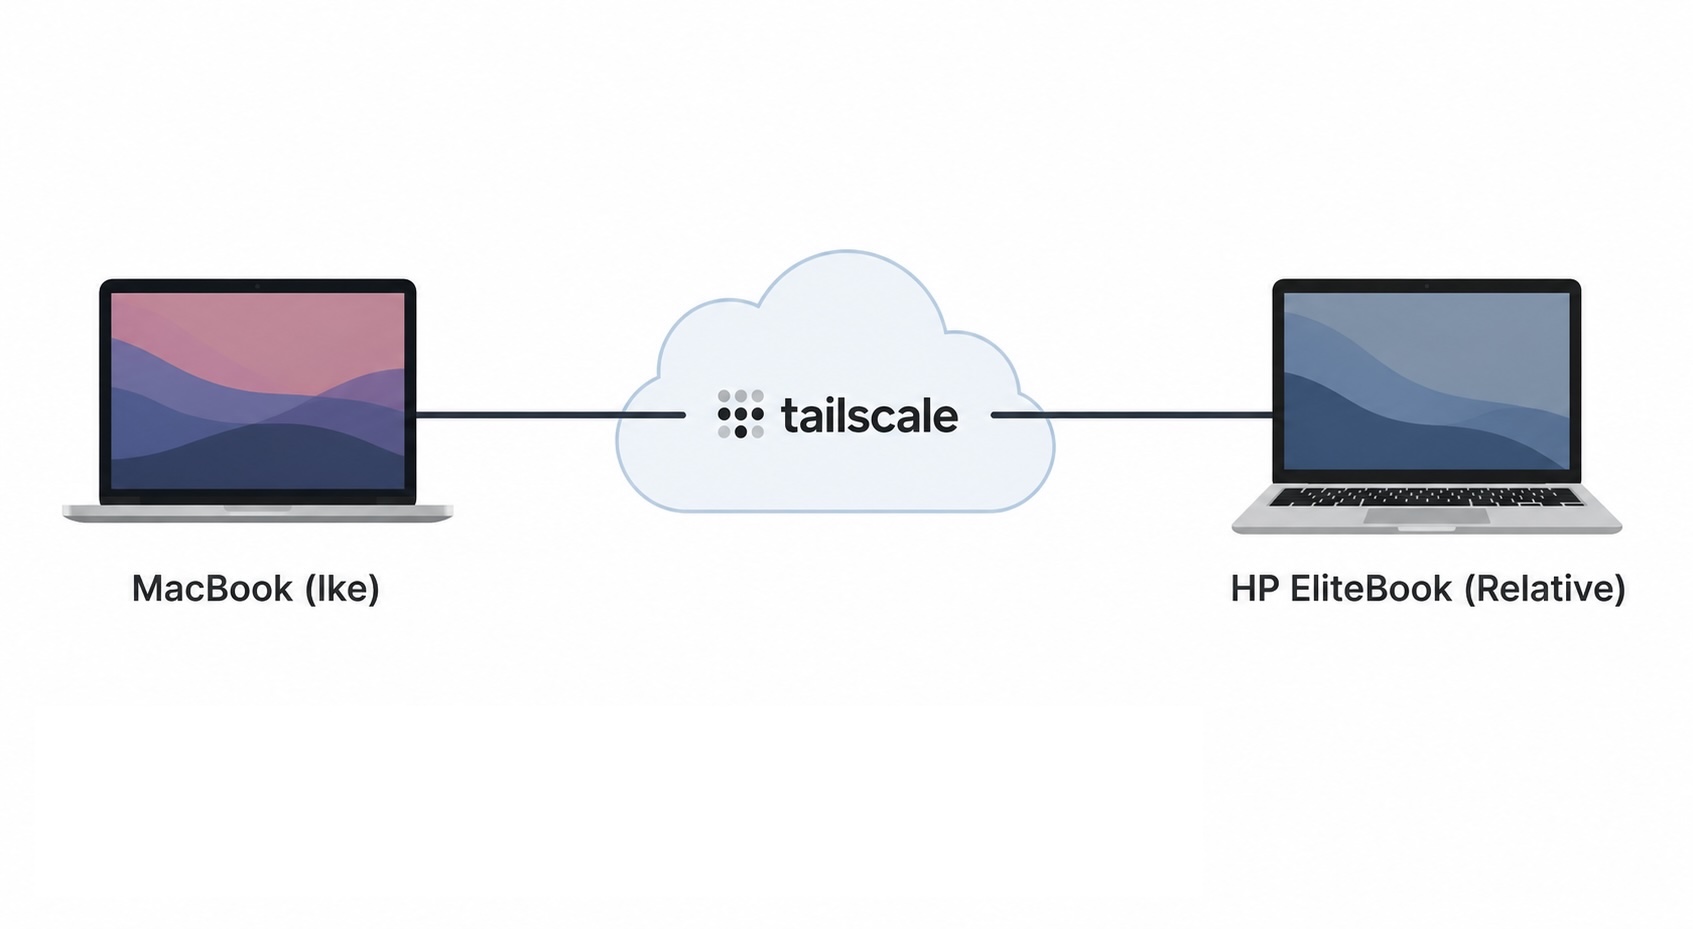
I also installed AnyDesk, which gives me full visual remote desktop access. Where SSH is useful for command-line troubleshooting, AnyDesk lets me see exactly what they are seeing and control the desktop directly, which is more practical when the issue is something visual or navigational rather than a deeper system problem.
Both Tailscale and SSH are set to start automatically when the laptop reboots, so the remote access is always available without anyone needing to remember to turn anything on.
Worth doing
The total cost of this project was zero. No new hardware, no paid software, just time and a spare USB drive. The laptop that was sitting unused is now running well, the person using it has something to learn on at their own pace, and I can help them remotely when they hit a snag.
Somewhere, that HP is sitting on a desk, booted into Ubuntu, running a tutorial about how to create a file in LibreOffice. And if anything goes wrong, I can be in it within seconds from my MacBook, wherever I am. Not bad for a laptop that was heading for the bin.
If you found this useful and want to read more about what I did, or if you have a similar project and want to compare notes, let me know in the comments.